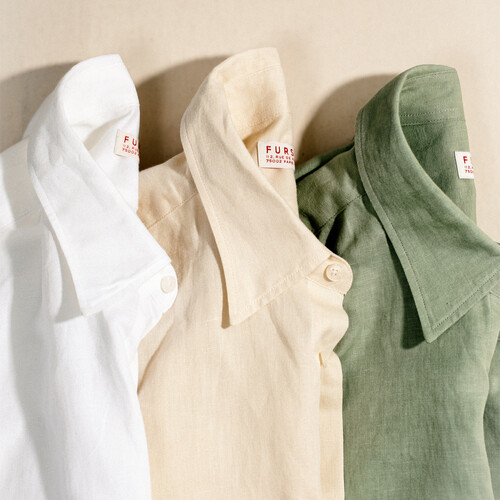
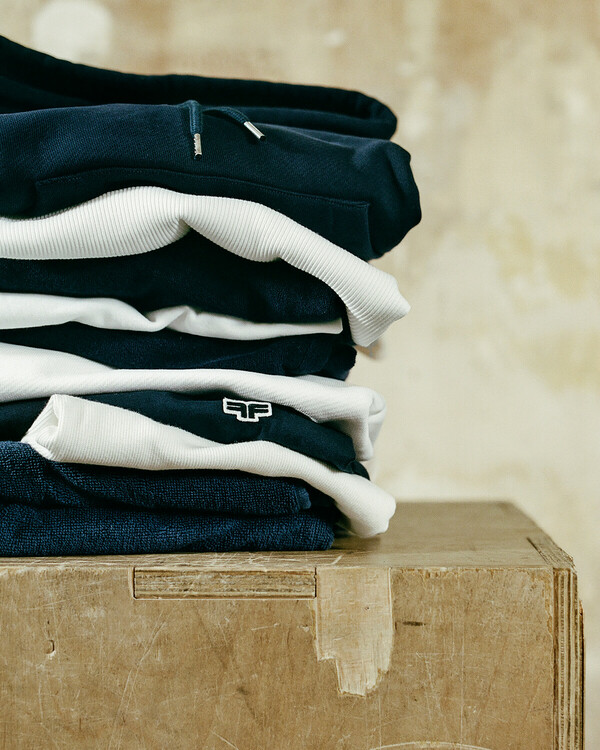
REPAIRING GARMENTS
It's nice to invest in beautiful garments! It's even nicer to know how to take care of them and to make them last over time.
Just a few years ago, learning how to sew was unthinkable for many consumers. Today, the popularity of vintage and the
increasing awareness of the problems associated with overconsumption have made it a desirable skill once again!

The most common scenarios:
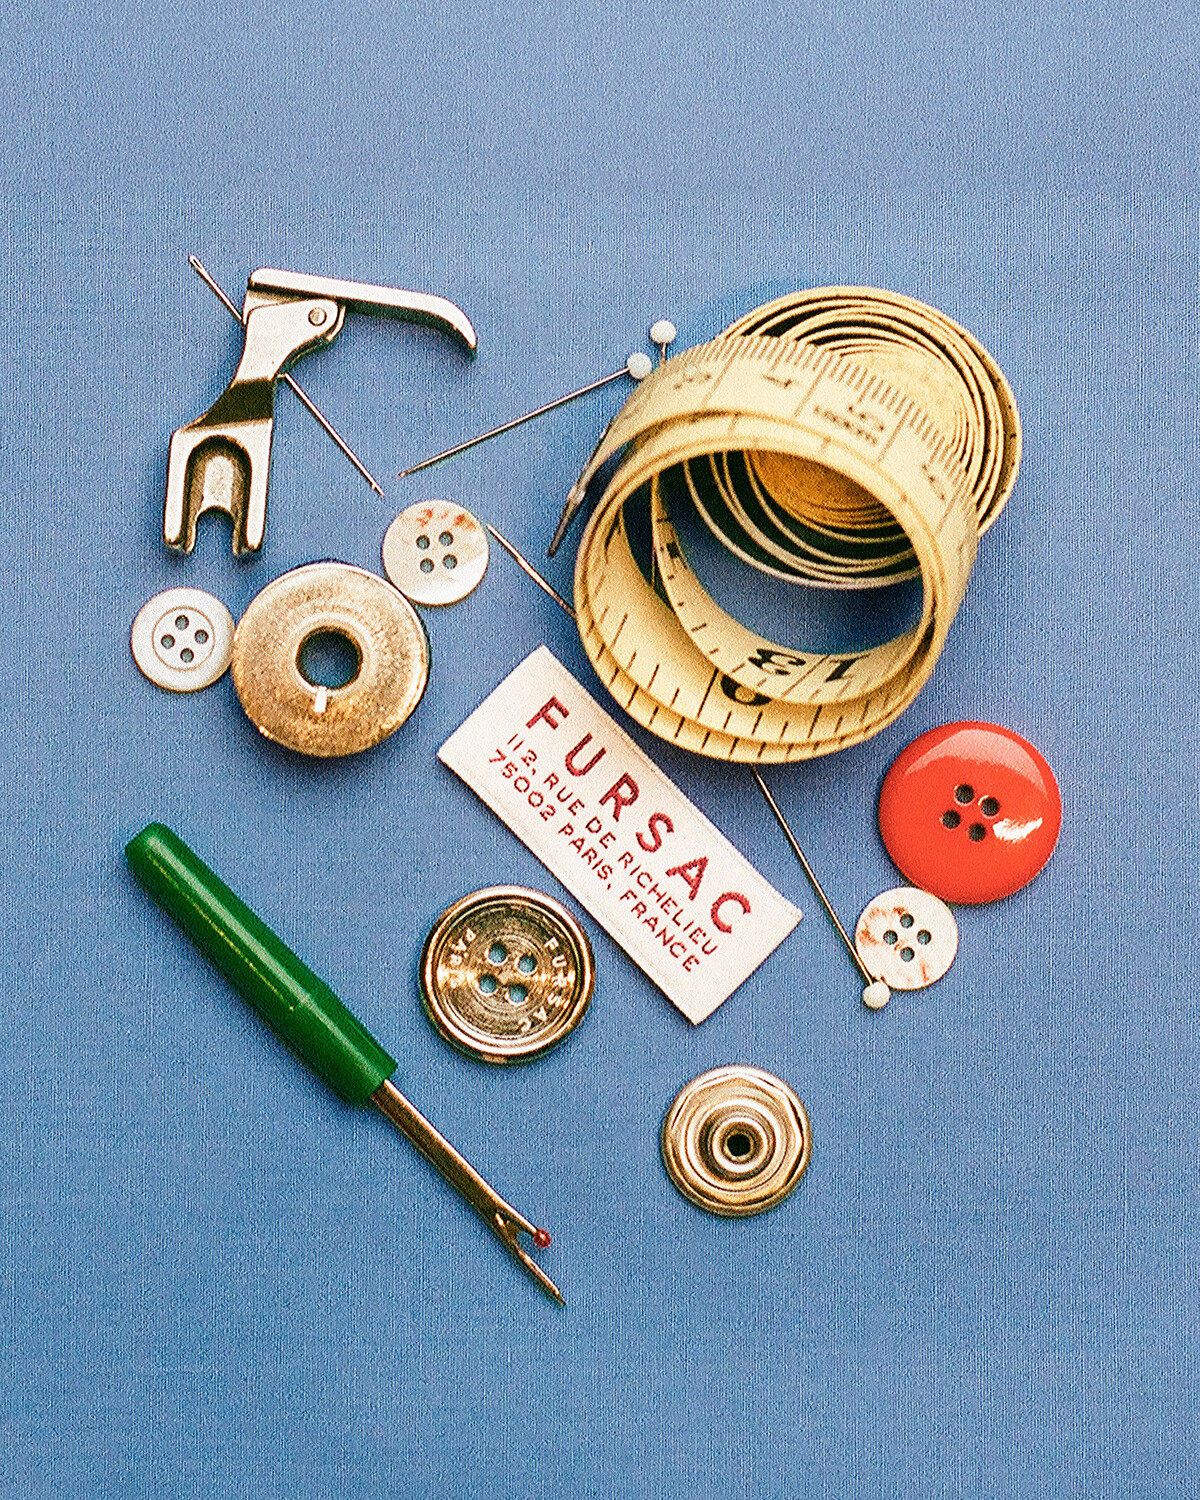
Sewing a button:
Choose a thread that matches the color of the garment. Thread the needle and tie a knot at the end of the thread. Position the button where you want it. Feel free to use a pin to hold it in place. Start sewing by inserting the needle into the fabric from below, so the knot remains hidden. Push the needle through one of the holes in the button. For each type of button (two-hole or four-hole), sew it by passing the needle from one hole to the other. For a four-hole button, pass the thread diagonally for a better hold. After passing the needle a few times through each hole, push the needle through the fabric and tie a knot at the back to secure the thread. Go ahead and make several knots if necessary. Cut the thread, leaving a small amount on the end to prevent it from unraveling.
Repairing jeans:
Start by assessing the damage to determine where to repair the jeans, then prepare the material by threading a needle with solid thread in the color of your choice (tone-on-tone or colored, depending on the desired effect). For a tear, sew along the outside of the hole if the hole is small, or cut a slightly larger piece of fabric to fit under the hole and sew around its edges to hold it in place. Insert the needle into the fabric and make even stitches, ensuring they are tight without scrunching the fabric. If you need to reinforce the seams, sew along the lines of the existing seams. Finish by tying a knot at the back and cutting the thread, leaving a small amount of thread on the end. You may wish to flatten the repaired area with an iron (at low temperature) for a neater look.
Repairing a tear in a fabric:
If the tear is small, sew directly around it, using even stitches to close the hole. For a larger tear, cut out a solid piece of fabric (slightly larger than the tear), place the fabric behind the hole, and sew along the edges to secure it in place. Make sure the stitches are tight (without scrunching the fabric), then tie a knot at the back and cut the thread, leaving a small amount of thread on the end. Finish by flattening the seam with an iron at low temperature.
Darning:
Determine the size of the hole. Clean the area around the tear to prevent the threads from fraying. Position the darning fabric behind the hole, then sew with even stitches around the edges to hold the fabric in place. Make sure the stitches are tight so the repaired area doesn't tear again. Finish by tying a knot at the back and cutting off the excess thread. For a neater finish, flatten the seams with an iron at low temperature.
Giving a second life to a zipper
First, start by cleaning the zipper! After all, it's often dust and dirt that jam the mechanism. Here's how to do it:
Soft brush or toothbrush: Use a soft brush to remove dust and debris accumulated around the zipper.
Soap and water: Add some mild liquid soap (and maybe even a little white vinegar) to some lukewarm water. Soak a clean
cloth or sponge in the solution and gently rub the zipper.
Lubrication: Once the zipper is clean, apply a little candle or crayon wax to its teeth to make it slide more easily.
Rinsing: If you used soap or vinegar, wipe the zipper with a clean, damp cloth to remove any residue.
Drying: Let the zipper dry completely before use.
These quick and easy measures will help keep your zipper in tip-top condition!
If your zipper still doesn't work, you'll probably have to replace it.
Start by undoing the seams holding it in place with a seam ripper, then remove the worn zipper. Measure the length of the
new zipper and make sure it fits in the old zipper's place. Pin the new zipper in place (making sure it's straight), then sew
the edges of the zipper with a sewing machine and matching thread. Finish by sewing the upper and lower ends of the
zipper to reinforce its strength, and trim off any excess thread. Finally, test the zipper to make sure it works OK.
Here's a list of useful tips for repairing your garments:
Assessing damage: Always carefully inspect your garments for tears, holes, or loose seams.
Prepare your materials: Needles, threads, scissors, fabric patches, irons, and pins. Think of investing in a sewing box!
Choose the right thread: Use a thread in the same color as the garment for a discreet finish, or a different color for a new or offbeat look!
Patches: For larger tears, cut a piece of fabric and sew or iron it on behind the tear.
Hand-sewing: For quick and easy repairs, use a straight or zigzag stitch to hold the fabric together.
Reinforce the seams: For frayed seams, re-sew along the existing seam for added strength.
Use an iron: Flatten repairs with an iron for a flawless look.
Test before cutting: Before removing a zipper or button, make sure the replacement parts are the right size and function correctly.
Take your time: For best results, be patient and careful with your repairs.
Learn new techniques: Feel free to explore online tutorials to learn more and gain in dexterity!
Keep old clothes: Use pieces of old clothes as fabric for repairs.
Repair quickly: Don't let small tears or missing buttons get worse - act quickly to avoid more complicated repairs.
"Repair bonus initiative" in France
In France, those who still can't imagine doing the repairs themselves can take advantage of the country's special "repair bonus" initiative, which was launched in 2023. At selected repair shops, you can benefit from discounts on everything from patches for holes in your clothes to repairs to the heels of your shoes.
Here are the discounts in detail: €8 for a sole on your shoes; €8 for sewing or adhesive work on your shoes; €7 for the replacement of the toe caps on your shoes (the toe cap covers and protects the toes from premature wear and tear); €7 for patching a hole, snag, or tear in a garment; €10 for the replacement of a basic lining, €25 for a complex lining.
Please note: the various discounts offered by the "repair bonus" initiative only apply if the repair work costs at least €12. In addition, the following items (among others) are not eligible for the discounts: undergarments (underwear, socks, etc.); garments made of leather and real fur; technical sportswear designed for non-daily use (judo kimonos, neoprene wetsuits, ski boots, etc.).